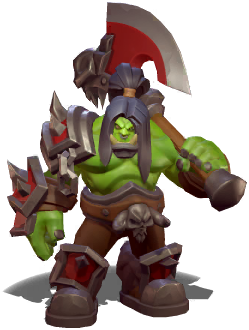
Scholomance Dungeon - Grommash Hellscream
Created by Undeadicated
Updated Sep 29, 2024 for PvE
FULL GUIDE IN DESCRIPTION! Plz Upvote Thx
Stats
Traits
Mini Stats
Guide
Level 1, Jandice Barov
Treasure: Orgrimmar Commendation
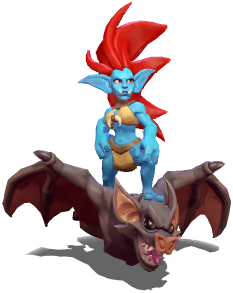
Units: Abomination, Ghoul, Jandice Barov (clone), Meat Wagon, Necromancer, Vultures
Strategy:
Jandice Barov sends copies of herself to attack you.
They have the interesting ability to change from ranged to flying units.
Counter them with protected Witch Doctors, Pyromancers, or Faerie Dragons.
Take middle, left, then right tower.
You can take the middle tower early with Plague Farmer.
It may take more than one, but he's close enough to hit it while in the deploy zone.
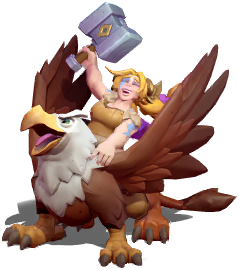
Counter Abominations and Meat Wagons with Whelp Eggs, Gryphon Riders, Faerie Dragons. You can use the middle lane to go over the bridge too.
You can take out Jandice pretty easily right up the middle lane with Plague Farmers.
= = = = = = = = = = =
Level 2, Rattlegore
Treasure: Band of the Protector
Units: Abomination, Ghoul, Necromancer, Plague Farmer, Rattlegore Spawn, Skeleton Mage, Skeleton Party
Strategy:
Band of the Protector can trigger extra graves on this level, but it will help with Gandling.
Like Legend of Zelda for the NES, If you bump into a gravestone, you'll trigger a ghostly response. Tanks with AOE support come though the graveyard pretty well.
This map will become more cluttered with gravestones as time goes on, so it's better if you can finish off Rattlegore quickly.
Stonehoof Tauren can be a bit problematic, triggering graves when they dart around. Plan their path carefully.
The goal is to build a large team and take the top-center meeting stone and launch as continuous an assault as possible from this point on.
Rattlegore can deploy an Abomination the moment before you get him in range, so keep the order tanks, flyers, ranged if you can. Plague Farmers and Gryphon Riders behind Stonehoof Tauren or Grommash works well.
If you lose the top meeting stone and need to refortify, use Whelp Eggs or send your reinforcements in a straight line to trigger less tombs. You can really get caught up late game if you lose that meeting stone.
Mine the gold while on the assault, once you take a meeting stone, deploy a Kobold to take the gold quickly.
= = = = = = = = = = =
Level 3, Darkmaster Gandling
Treasure: Primal Air
Unitis: Abomination, Meat Wagon, Ghoul, Worgen, Skeletons, Harpies
Strategy:
This fight is pretty straightforward, in spite of the teleporting trickiness.
Darkmaster Gandling uses portals to beam your units into a small arena with a chest and enemies. Once you dispatch the enemies, your units can take the chest and attack Gandling directly. These portals appear at the steps just beyond the meeting stones.
If you can beat the first Kobold to the left mine, go for it.
Counter Harpies with Faerie Dragon or Witch Doctor led by a tank.
Counter Abomination and Meat Wagon with fliers or Stonehoof Tauren.
Counter Necromancer with Stonehoof Tauren or supported AOE.
If you lose a good unit to the arena portal, you can drop Whelp Eggs into the arena, they'll do good against the Abominations.
Stonehoof Taurens will do the most damage to Darkmaster Gandling.
Their charge will put them right back on him after being knocked back.
Advanced Build Stats
Build Rating
Lane Offense
Tower Offense
Lane Defense
Tower Defense
Sabotage
Weak Against
Strong Against
About This Build
This build, Scholomance Dungeon - Grommash Hellscream, was created by Undeadicated on Sep 29, 2024. The leader of the deck is Grommash Hellscream as part of the Horde family.
With 6 other minis, this puts the total build cost at 2.9, DPS at 112, and HP at 567. Be sure to support your favorite builds and creators by upvoting their builds, videos, and anything else they share that you find useful.Check out the profile page of Undeadicated for more of their guides.
Want to create your own build to share? Head over to our Build Creator and show everyone what you got!
Please login or create a free account to vote on builds.
LoginAre you sure you want to delete this build?
Are you sure you want to report this build?


